- Go to the wp-admin URL of your store. Login page will be displayed.
- Enter email and password. Click Login.
- It will take you to the store.
- Add products to your store
- In the store from menu on left click products.
- To view product list, click �All Products�.
- On the top you can see buttons �Add New�, �Import� and �Export�
- To add single product Click Add New button.
- Enter Product Name, Description, Product Categories, Product Data, Product tags and product gallery
- Click Publish. Product will be displayed on the cart.
- To add multiple products, you can use import button.
- Edit product � Product Category
- In the store from menu on left click products.
- To view product list, click �All Products�.
- Click Edit link on the product you need to Edit.
- To change categories, scroll right to Product Categories section.
- Update from predefined category sections.
- Edit product � Product Price
- In the store from menu on left click products.
- To view product list, click �All Products�.
- Click Edit link on the product you need to Edit.
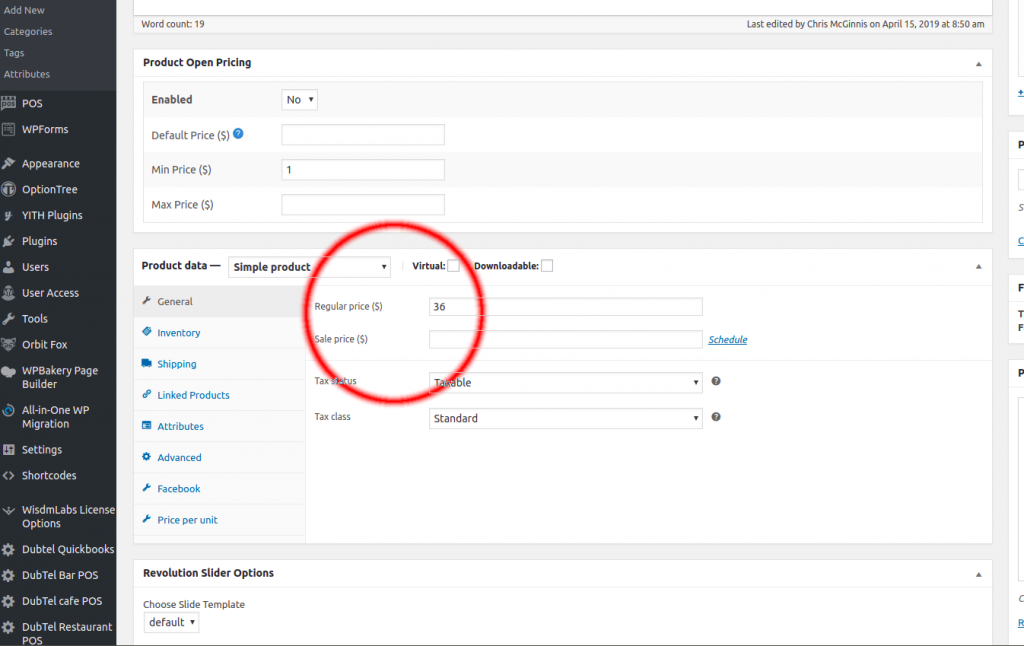
- To update price, scroll down to the product data section.
- This will show the fields to enter Regular price, Sales Price etc.
- Update the regular price as needed.
- Edit product � Manage stock
- In the store from menu on left click products.
- To view product list, click �All Products�.
- Click Edit link on the product you need to Edit.
- To manage stock, scroll down to product data section.
- Click on the Inventory tab.
- There you will see option to manage SKU, Manage stock option, Stock status etc.
- In the store from menu on left click products.
- To view product list, click �All Products�.
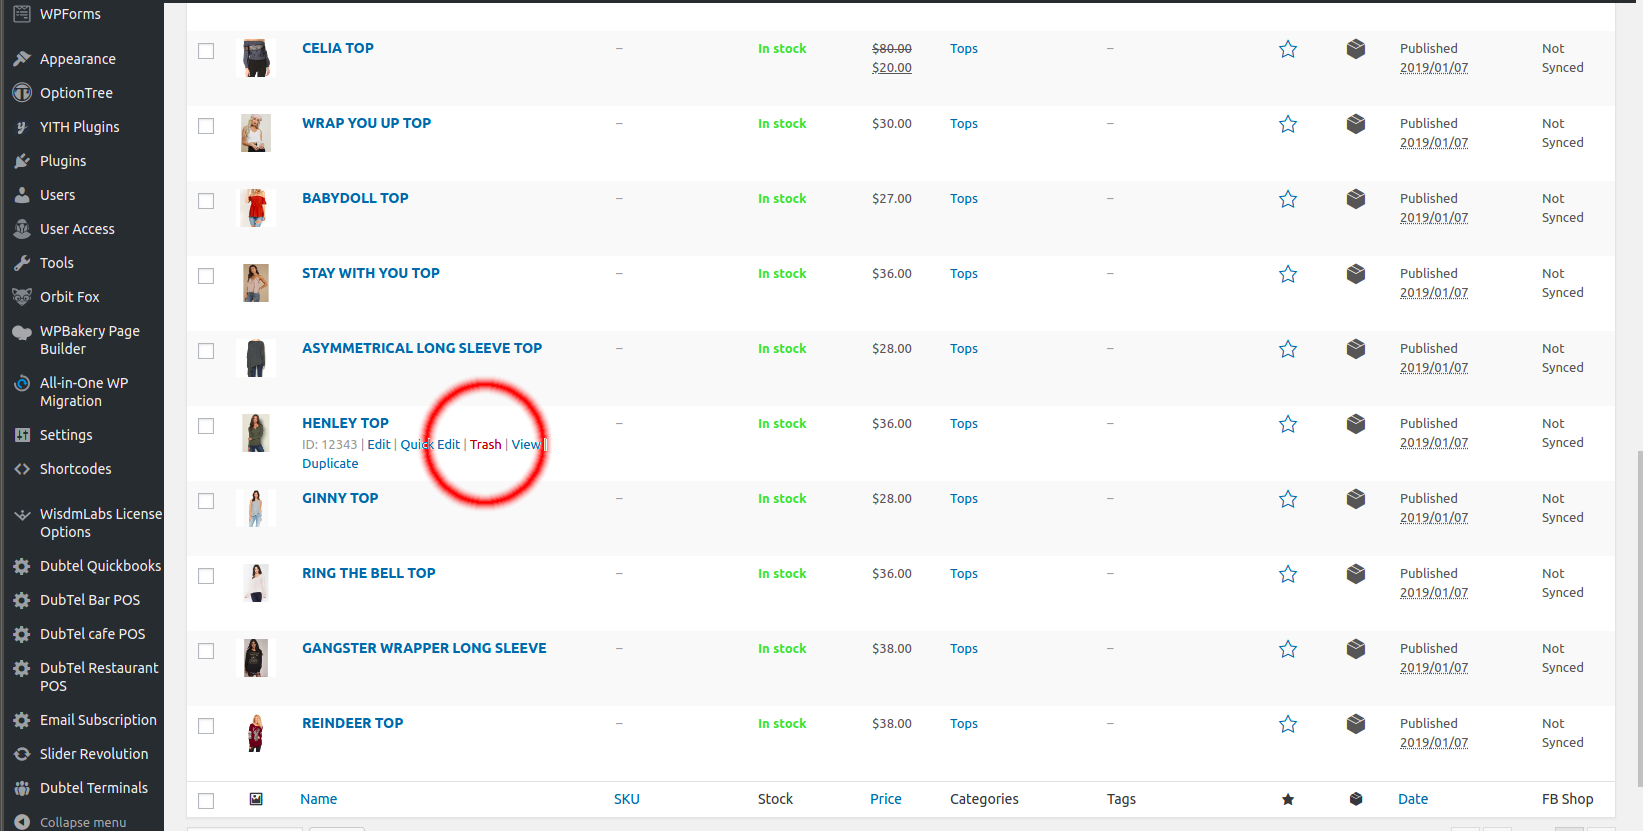
- Click Trash link on the product you need to Delete
- It will remove the product from the product list.
- In the store from menu on left click WooCommerce
- To view order list, click �Orders�.
- It will take you to the orders list.


